Jrr7 (Message Wall | contribs) |
Jrr7 (Message Wall | contribs) |
||
| Line 31: | Line 31: | ||
The eighth-row [[Mastery]] Natural Diplomacy III gives 5 free levels of both the effect level and the transfer level (which allows it to go up to 85%). |
The eighth-row [[Mastery]] Natural Diplomacy III gives 5 free levels of both the effect level and the transfer level (which allows it to go up to 85%). |
||
| − | The [[Fluffy]] evolution gives |
+ | The [[Fluffy]] ability available at evolution 8 and higher gives 10 free levels of the transfer level to Poison (which allows it to go up to 95%) |
Each upgrade of an Empowerment costs 4 more tokens than the previous level. |
Each upgrade of an Empowerment costs 4 more tokens than the previous level. |
||
Revision as of 02:41, 30 January 2019
Nature now helps you get some of the bad guys off of its planet, in the form of the new 'Empowerments of Nature' mechanic. -- Changelog for 4.4
| More about Trimps: | |
|---|---|
| Exploration: | Helium Universe • Radon Universe • Maps • Unique maps • Unlocks • Imps • Story • Loot |
| Basic Information: | Trimp (species) • Resources • Structures • Jobs • Upgrades • Equipment • Settings • Combat |
| Long-term Gameplay: | Helium/Radon • Perks • Heirlooms • Formations • Mastery • Achievements • Liquification • Fluffy/Scruffy |
| Gameplay Changes: | Portal • Challenges • Void Maps • Challenge²/Challenge³ • Player's Spire • Spire Assault |
| Anomalies: | Broken Planet • Corruption • Spire • Magma • Empowerments of Nature • Obsidian • Mutated zones |
| Other Useful Info: | Guides • Calculators • Changelog • Mods |
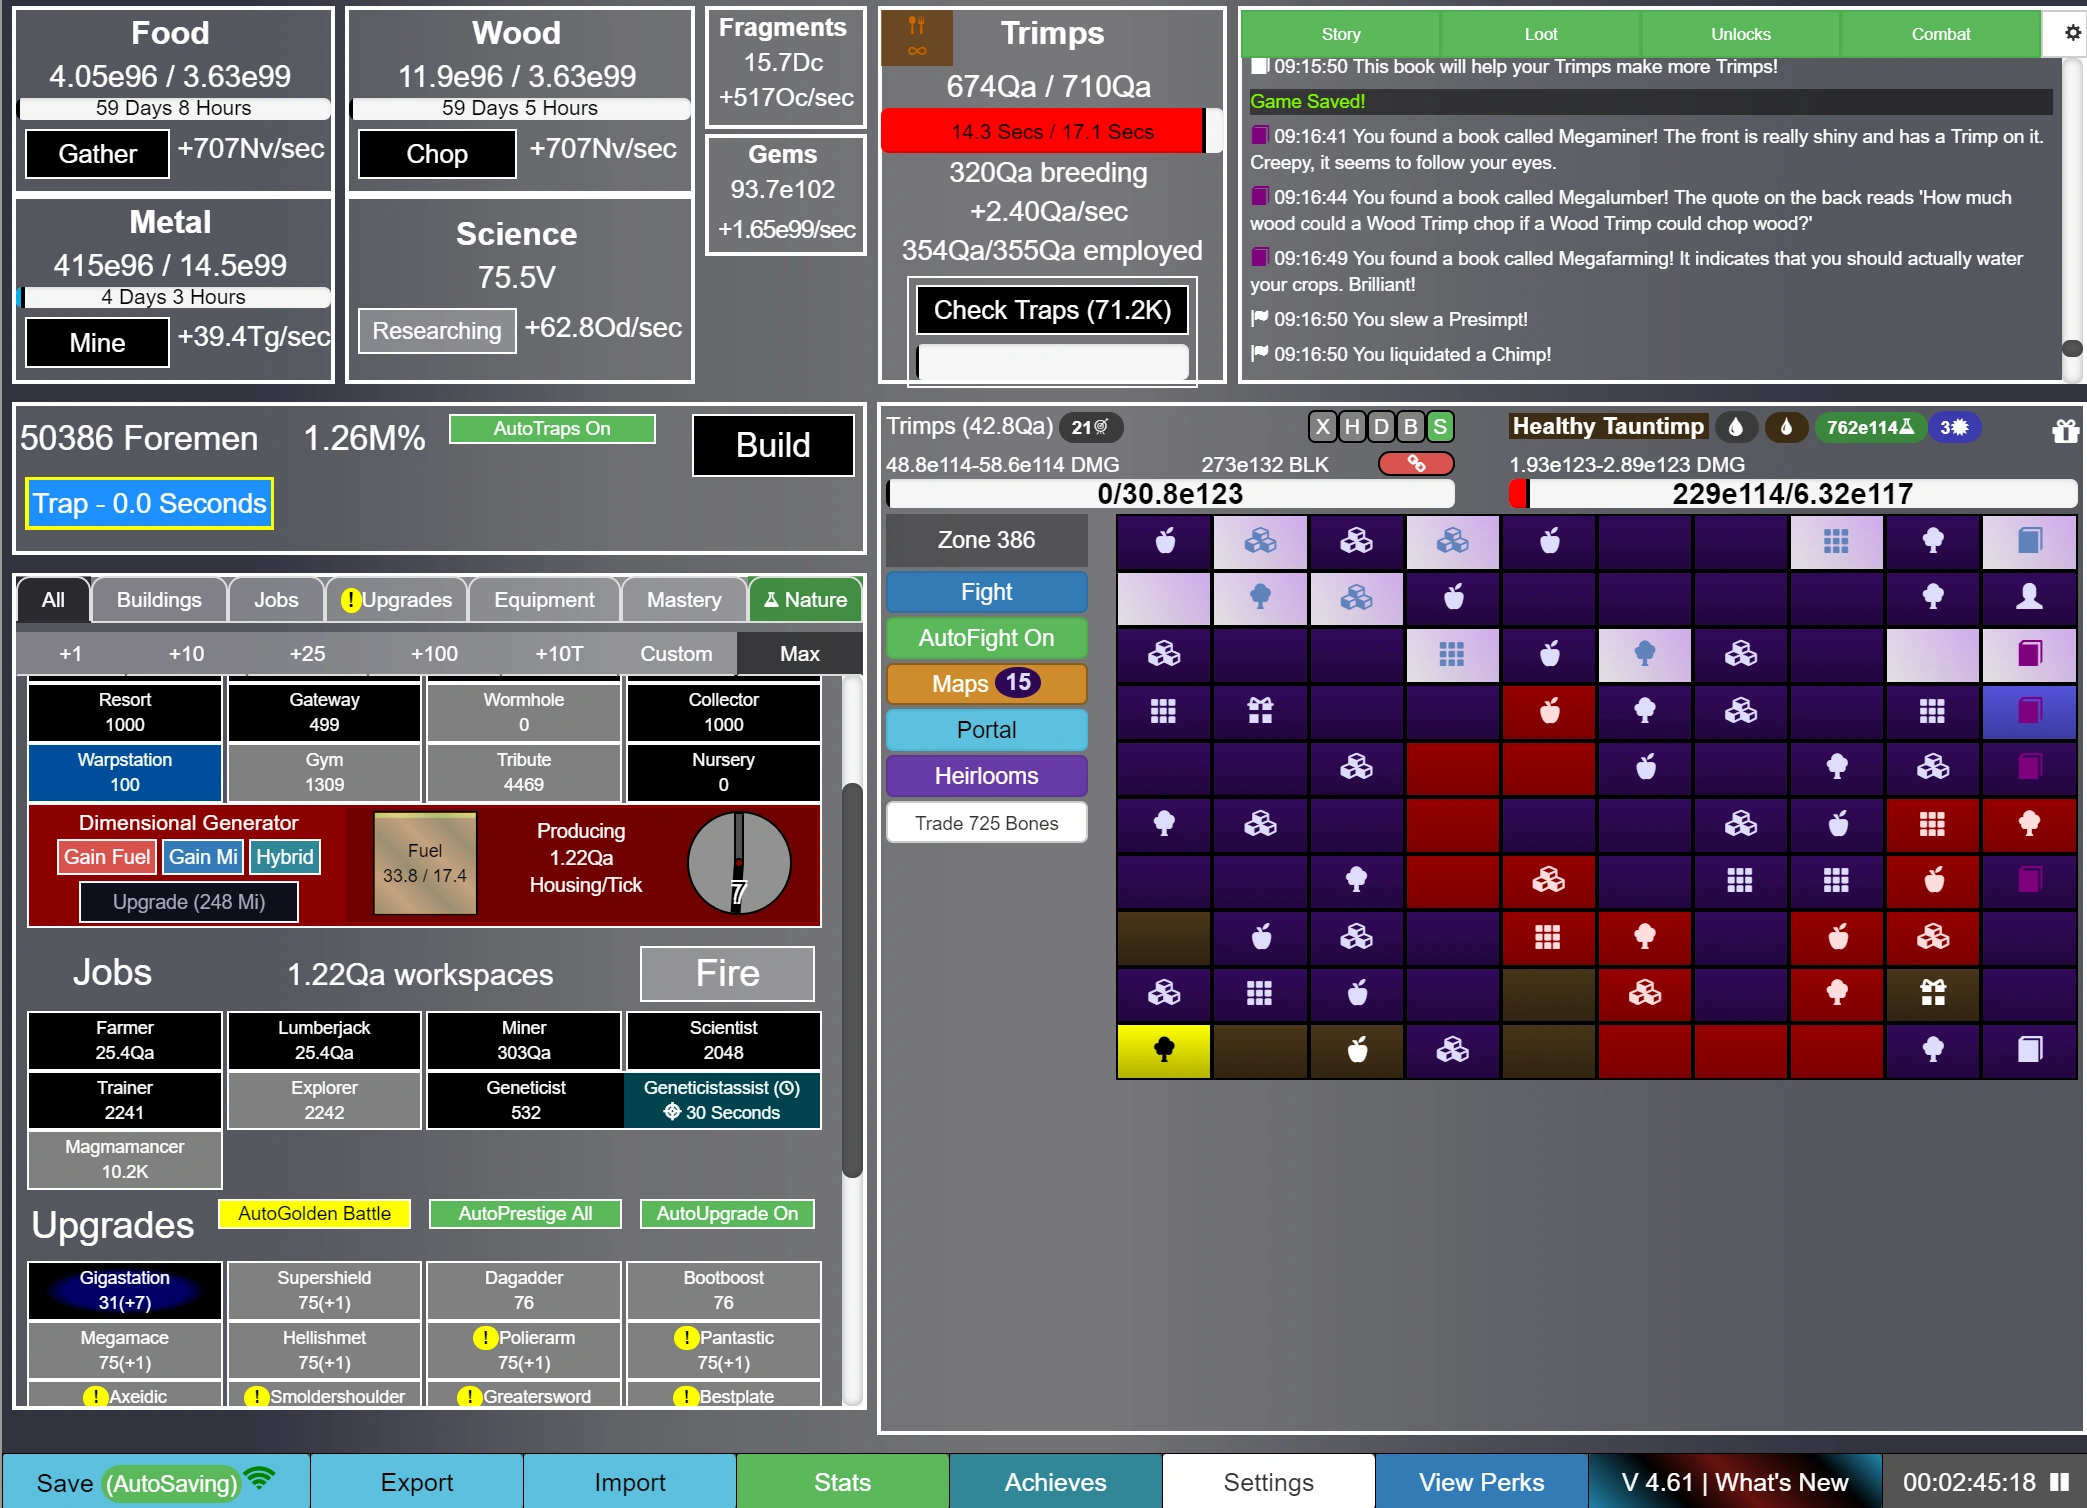
Empowerments of Nature becomes available the first time you reach zone 236, after which it changes between the 3 types of Nature every 5 levels at zones ending in 1 and 6 (I.e. 236, 241, 246). Only the current empowerment will be active at any given time, so for instance between zone 236 and 240, only poison will be active, and between 241 and 245, only wind will be active.
Tokens
Every time you change Nature there will be a random enemy with the color of the previous empowerment. Defeating this enemy will reward tokens depending on the zone you reached. The further in the world you reach, the more Tokens the enemy will drop. The initial reward is 1 Token of Poison at Zone 241, then 1 Token of Wind at Zone 246, 1 Token of Ice at Zone 251, then 2 Tokens of Poison at Zone 256 and so on. It is also possible to gain Tokens by beating certain rows in Spires after the first Spire.
One type of tokens can be traded for another type at the ratio of 10:5 e.g. trade 10 tokens of Poison for 5 tokens of Wind. With the Natural Diplomacy Mastery, one can increase this transfer ratio to 10:6, then to 10:8.
Like Bones and Helium, nature Tokens persist through Portals.
Empowerment Types
There are 3 types of Empowerment:
Empowerment of Poison
Each successful attack by your Trimps stacks a debuff on the enemy, causing it to take 1% (+1% per level) of the damage you dealt every turn until it dies. Each attack by your Trimps further adds to this effect.
Empowerment of Wind
Each successful attack by your Trimps stacks a debuff on the enemy, causing winds to swell and knock extra resources into your reach. Each stack increases Helium gained from all sources by 0.1% (+0.1% per level) and increases all other resources by 1% (+1% per level) until the enemy dies. Maximum of 200 stacks. Note that the helium bonus does not apply to maps (this includes Void Maps).
Empowerment of Ice
Enemies will be Chilled every time your Trimps attack. The Chill debuff stacks, reducing the damage that the enemy deals by 1% (+1% per level with diminishing returns, up to 100%) per stack, and increasing the damage your Trimps deal to the same enemy by the same percentage until it dies. Note: With enough levels/stacks, it is possible for enemies to deal 0-0 damage.
A single imp with two effects upon it.
Transfer Level
Besides level of effect, each Empowerment also has a transfer level: this allows for a percentage (1% per level, max of 80 levels) of the effect to pass on to the next enemy. The transferred stacks round up, and even if there was only 1 stack on an enemy you kill, a 1% transfer would result in one stack on the next enemy. The transferred stack is now treated by the game no differently to any other stack on that next enemy. When the next enemy dies, it again transfers 1% of the total number of stacks it has accumulated, both from transfer and what was added during your attacks on it. As of patch 4.61, it is possible for the effect to be transferred across the switching of Empowerments, briefly having a single enemy affected by two effects at once.
The eighth-row Mastery Natural Diplomacy III gives 5 free levels of both the effect level and the transfer level (which allows it to go up to 85%).
The Fluffy ability available at evolution 8 and higher gives 10 free levels of the transfer level to Poison (which allows it to go up to 95%)
Each upgrade of an Empowerment costs 4 more tokens than the previous level.
Strategy
With enough empowerments and transfer rates, Poison zones greatly increases your killing power. As such, void maps (which don't benefit from wind) should be done in these. Similarly, these are also the best zones for Dark Essence farming. At the end of poison zones, the player can farm higher level equipment by using +level maps.
With enough empowerment, max transfer rates, and Natural Diplomacy III, the player can consider farming wind zones by stacking up to 200 wind stacks.The player probably wants at least 100 empowerment before doing this.
When stacking wind, you do not want the corrupted or healthy imp you're fighting to die before getting the stacks to max. This requires careful planning of your attack power (to be able to defeat the imp in approximately 30 attacks (at 85 transfer)) to maximize Helium gain without it taking too long.
Ice is pretty useless overall. However, it may help with clearing Spire III later on easily.
In early nature, it is worth buying one level of transfer in wind and ice as soon as possible. As stack transfer rounds up, each enemy will now start with a minimum of one stack. This does not apply to poison, as it is not calculated in terms of stacks, but as a sum of poison damage from each attack you deal to the enemy, so rounding will have much less of an effect (1% transfer of ~1% of your total damage to an enemy at level 1 poison empowerment would mean that the next enemy receives 0.01% of the previous enemy's health as damage with each of your attacks, which is almost completely negligible).
List of Zones, Active Empowerment, & Token Rewards
| Start Zone | End Zone | Active Empowerment | Token Zone & Number |
|---|---|---|---|
| 236 | 240 | Poison | Zone 241 (1 Poison Token) |
| 241 | 245 | Wind | Zone 246 (1 Wind Token) |
| 246 | 250 | Ice | Zone 251 (1 Ice Token) |
| 251 | 255 | Poison | Zone 256 (2 Poison Tokens) |
| 256 | 260 | Wind | Zone 261 (2 Wind Tokens) |
| 261 | 265 | Ice | Zone 266 (2 Ice Tokens) |
| 266 | 270 | Poison | Zone 271 (3 Poison Tokens) |
| 271 | 275 | Wind | Zone 276 (3 Wind Tokens) |
| 276 | 280 | Ice | Zone 281 (3 Ice Tokens) |
| 281 | 285 | Poison | Zone 286 (4 Poison Tokens) |
| 286 | 290 | Wind | Zone 291 (4 Wind Tokens) |
| 291 | 295 | Ice | Zone 296 (4 Ice Tokens) |
| 296 | 300 | Poison | Zone 301 (5 Poison Tokens) |
| 301 | 305 | Wind | Zone 306 (5 Wind Tokens) |
| 306 | 310 | Ice | Zone 311 (5 Ice Tokens) |
| 311 | 315 | Poison | Zone 316 (6 Poison Tokens) |
| 316 | 320 | Wind | Zone 321 (6 Wind Tokens) |
| 321 | 325 | Ice | Zone 326 (6 Ice Tokens) |
| 326 | 330 | Poison | Zone 331 (7 Poison Tokens) |
| 331 | 335 | Wind | Zone 336 (7 Wind Tokens) |
| 336 | 340 | Ice | Zone 341 (7 Ice Tokens) |
| 341 | 345 | Poison | Zone 346 (8 Poison Tokens) |
| 346 | 350 | Wind | Zone 351 (8 Wind Tokens) |
| 351 | 355 | Ice | Zone 356 (8 Ice Tokens) |
| 356 | 360 | Poison | Zone 361 (9 Poison Tokens) |
| 361 | 365 | Wind | Zone 366 (9 Wind Tokens) |
| 366 | 370 | Ice | Zone 371 (9 Ice Tokens) |
| 371 | 375 | Poison | Zone 376 (10 Poison Tokens) |
| 376 | 380 | Wind | Zone 381 (10 Wind Tokens) |
| 381 | 385 | Ice | Zone 386 (10 Ice Tokens) |
| 386 | 390 | Poison | Zone 391 (11 Poison Tokens) |
| 391 | 395 | Wind | Zone 396 (11 Wind Tokens) |
| 396 | 400 | Ice | Zone 401 (11 Ice Tokens) |
| 401 | 405 | Poison | Zone 406 (12 Poison Tokens) |
| 406 | 410 | Wind | Zone 411 (12 Wind Tokens) |
| 411 | 415 | Ice | Zone 416 (12 Ice Tokens) |
| 416 | 420 | Poison | Zone 421 (13 Poison Tokens) |
| 421 | 425 | Wind | Zone 426 (13 Wind Tokens) |
| 426 | 430 | Ice | Zone 431 (13 Ice Tokens) |
| 431 | 435 | Poison | Zone 436 (14 Poison Tokens) |
| 436 | 440 | Wind | Zone 441 (14 Wind Tokens) |
| 441 | 445 | Ice | Zone 446 (14 Ice Tokens) |
| 446 | 450 | Poison | Zone 451 (15 Poison Tokens) |
| 451 | 455 | Wind | Zone 456 (15 Wind Tokens) |
| 456 | 460 | Ice | Zone 461 (15 Ice Tokens) |
| 461 | 465 | Poison | Zone 466 (16 Poison Tokens) |
| 466 | 470 | Wind | Zone 471 (16 Wind Tokens) |
| 471 | 475 | Ice | Zone 476 (16 Ice Tokens) |
| 476 | 480 | Poison | Zone 481 (17 Poison Tokens) |
| 481 | 485 | Wind | Zone 486 (17 Wind Tokens) |
| 486 | 490 | Ice | Zone 491 (17 Ice Tokens) |
| 491 | 495 | Poison | Zone 496 (18 Poison Tokens) |
| 496 | 500 | Wind | Zone 501 (18 Wind Tokens) |
| 501 | 505 | Ice | Zone 506 (18 Ice Tokens) |
| 506 | 510 | Poison | Zone 511 (19 Poison Tokens) |
| 511 | 515 | Wind | Zone 516 (19 Wind Tokens) |
| 516 | 520 | Ice | Zone 521 (19 Ice Tokens) |
| 521 | 525 | Poison | Zone 526 (20 Poison Tokens) |
| 526 | 530 | Wind | Zone 531 (20 Wind Tokens) |
| 531 | 535 | Ice | Zone 536 (20 Ice Tokens) |
| 536 | 540 | Poison | Zone 541 (21 Poison Tokens) |
| 541 | 545 | Wind | Zone 546 (21 Wind Tokens) |
| 546 | 550 | Ice | Zone 551 (21 Ice Tokens) |
| 551 | 555 | Poison | Zone 556 (22 Poison Tokens) |
| 556 | 560 | Wind | Zone 561 (22 Wind Tokens) |
| 561 | 565 | Ice | Zone 566 (22 Ice Tokens) |
| 566 | 570 | Poison | Zone 571 (23 Poison Tokens) |
| 571 | 575 | Wind | Zone 576 (23 Wind Tokens) |
| 576 | 580 | Ice | Zone 581 (23 Ice Tokens) |
| 581 | 585 | Poison | Zone 586 (24 Poison Tokens) |
| 586 | 590 | Wind | Zone 591 (24 Wind Tokens) |
| 591 | 595 | Ice | Zone 596 (24 Ice Tokens) |
| 596 | 600 | Poison | Zone 601 (25 Poison Tokens) |
| 601 | 605 | Wind | Zone 606 (25 Wind Tokens) |
| 606 | 610 | Ice | Zone 611 (25 Ice Tokens) |
| 611 | 615 | Poison | Zone 616 (26 Poison Tokens) |
| 616 | 620 | Wind | Zone 606 (26 Wind Tokens) |
| 621 | 625 | Ice | Zone 611 (26 Ice Tokens) |
| 626 | 630 | Poison | Zone 616 (27 Poison Tokens) |
| 631 | 635 | Wind | Zone 606 (27 Wind Tokens) |
| 636 | 640 | Ice | Zone 611 (27 Ice Tokens) |
| 641 | 645 | Poison | Zone 616 (28 Poison Tokens) |
| 646 | 650 | Wind | Zone 606 (28 Wind Tokens) |
| 651 | 655 | Ice | Zone 611 (28 Ice Tokens) |
Best Ratios of Upgrades and Stack Transfer for Nature
This table indicates the most efficient way to level empowerment and stack transfer rate for poison. The values were determined under the assumption of exactly 100 enemies with health equal to exactly 100000x your minimum attack, but the values hold up almost exactly, even under a drastic change of conditions. It should be noted that, due both to rounding of stacks and differing use cases, the table will not be perfectly accurate for ice or wind.
How to read: Take your level of Nature Empowerment. The % Stack Transfer is how much you should have before you buy the next level of Empowerment. [1]
Note: As detailed in the Strategy section, in early nature it is worth buying one level of transfer in wind and ice as soon as possible because, as stack transfer rounds up, each enemy will start with a minimum of one stack.
|
Level |
Stack Transfer | |
|---|---|---|
| 1 | 0% | |
| 2 | 0% | |
| 3 | 0% | |
| 4 | 0% | |
| 5 | 0% | |
| 6 | 0% | |
| 7 | 0% | |
| 8 | 1% | |
| 9 | 1% | |
| 10 | 2% | |
| 11 | 2% | |
| 12 | 2% | |
| 13 | 3% | |
| 14 | 4% | |
| 15 | 4% | |
| 16 | 5% | |
| 17 | 6% | |
| 18 | 6% | |
| 19 | 7% | |
| 20 | 8% | |
| 21 | 9% | |
| 22 | 10% | |
| 23 | 11% | |
| 24 | 13% | |
| 25 | 14% | |
| 26 | 16% | |
| 27 | 17% | |
| 28 | 19% | |
| 29 | 21% | |
| 30 | 23% | |
| 31 | 25% | |
| 32 | 28% | |
| 33 | 31% | |
| 34 | 36% | |
| 35 | 42% | |
| 36 | 80% (max) |